Good lighting is key to capturing beautiful portraits. The way light interacts with the subject can change the mood, enhance details, and make your photos stand out. Understanding photography lighting tips will help you make the most of your lighting setup and improve the overall quality of your portraits. This guide will share simple yet effective tips that can take your portrait photography to the next level.
1. Use Natural Light to Your Advantage
One of the best lighting sources for portraits is natural light. It can provide a soft, flattering look that works well for most subjects. The key is to find the right location. Position your subject near a window or in a shaded outdoor area. Avoid direct sunlight, as it can create harsh shadows and cause overexposure. Instead, aim for diffused light, which gives a more even and pleasing result.
- Best Times for Natural Light:
- Early morning or late afternoon
- Cloudy days provide soft, diffused light
- Use reflectors to bounce light
Natural light creates a soft and smooth effect, which is great for portraits that emphasize warmth and comfort. You can also control the light by adjusting your subject’s position or using white reflectors to fill in shadows.

2. Understand Soft Light vs. Hard Light
The type of light you use can drastically change the appearance of your portrait. Knowing the difference between soft light and hard light is important for achieving different effects.
- Soft Light: Soft light is diffused and gentle, producing minimal shadows. It gives a smooth, flattering look, perfect for beauty and lifestyle portraits.
- Hard Light: Hard light is direct and creates sharper shadows. It highlights textures and can add drama and contrast to your portraits.
Soft light works best for a softer, more natural look, while hard light can add depth and make certain features stand out. You can control light quality by adjusting the distance between the light source and the subject or by using diffusers.
3. Photography Lighting Tips to Use Artificial Light When Necessary
While natural light is great, there are times when you may need to use artificial lighting. This can be especially helpful in low-light environments or when you want to control your light more precisely.
- Flash and LED Lights: These are great options for portraits. You can position them to avoid creating unwanted shadows and adjust their intensity to match your desired effect.
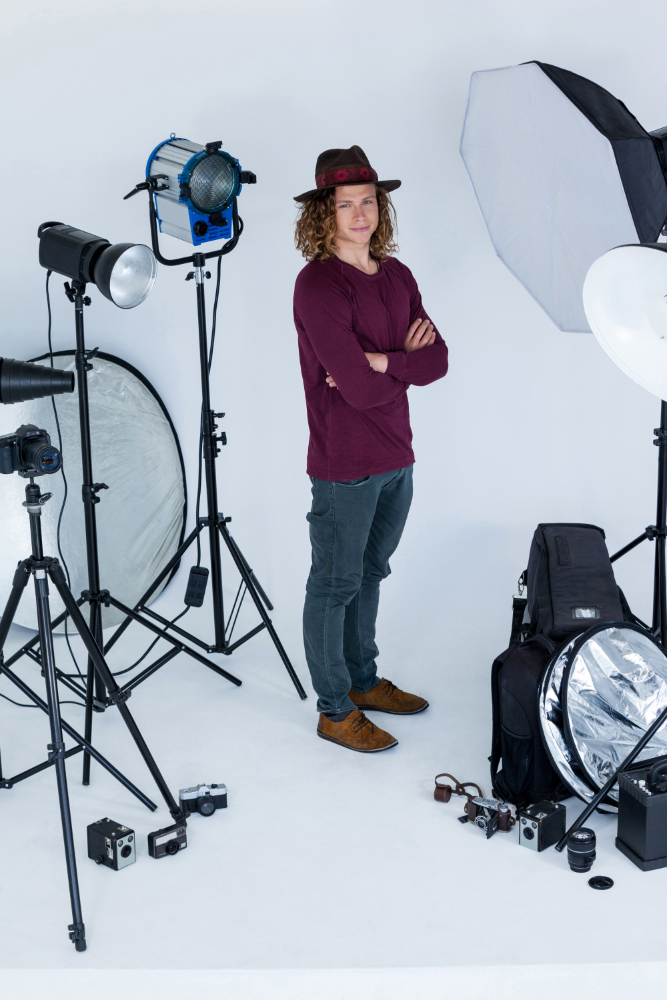
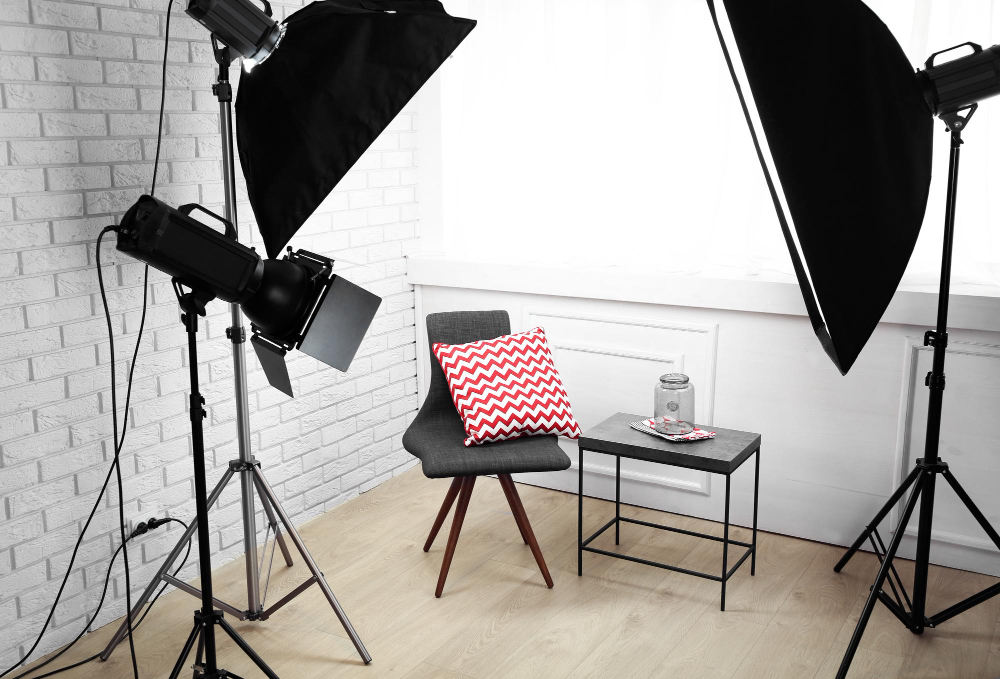
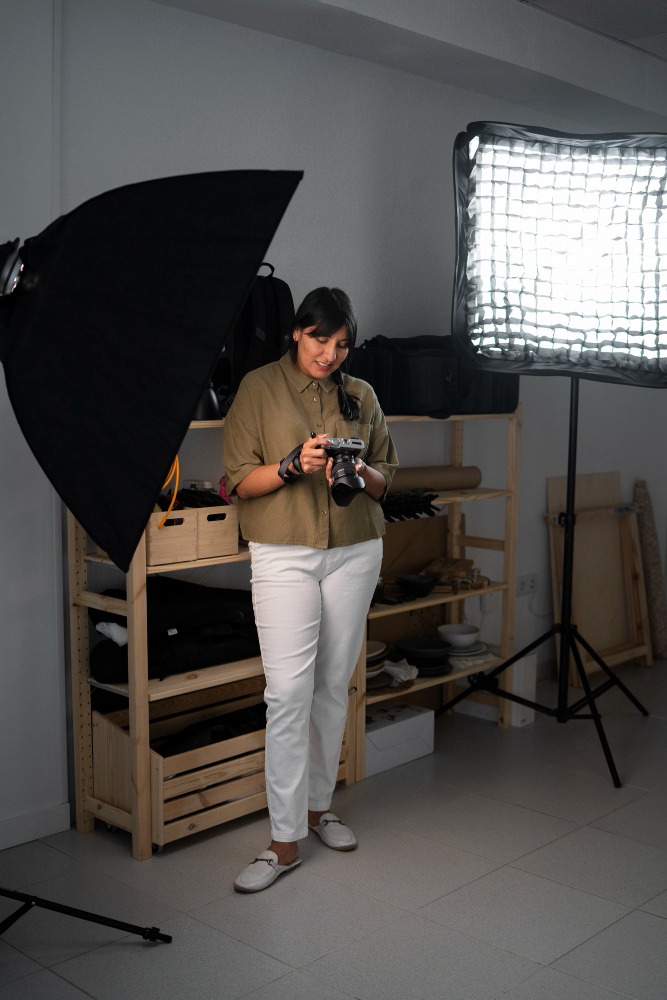
- Light Modifiers: Softboxes, umbrellas, and reflectors are common tools to diffuse light and create softer shadows.
Artificial lights allow you to shoot at any time of day, regardless of weather conditions, and can help create more consistent results in your portraits.
4. Control Shadows for Better Depth
Shadows can add depth to your portrait, but they need to be controlled properly. Harsh shadows can distract from the subject’s face, while soft shadows add structure and dimension.
- Use a Fill Light: If your subject has harsh shadows on one side, use a fill light to soften them. A reflector or a second light can help reduce shadows and add a balanced look.
- Position Your Lights Correctly: Experiment with light angles to see how the shadows shift. You can create more flattering portraits by placing your light at different heights and distances.
Proper shadow control helps keep the focus on the subject and enhances the features you want to highlight.
5. Play with Lighting Angles
Changing the angle of your light can drastically change the mood of your portrait. The direction from which the light hits the subject’s face affects how features appear.
- Front Lighting: Light coming from the front creates a soft, even look. It’s great for a natural feel but can flatten facial features.
- Side Lighting: Light from the side can add dimension to the face. It creates shadows on one side and highlights the other, giving more depth and definition.
- Backlighting: This type of lighting creates a silhouette effect, where the subject is darker against a bright background. This technique can produce dramatic and creative results.
Experiment with different angles to find the best look for your subject. Each angle has its own effect, so don’t be afraid to try new positions.

6. Photography Lighting Tips for Overexposure and Underexposure
Exposing your subject correctly is essential for a successful portrait. Overexposed photos lose details in the highlights, while underexposed photos hide details in the shadows. Both can make your portrait look unnatural.
- Check Exposure Settings: Adjust your camera’s aperture, shutter speed, and ISO to ensure proper exposure.
- Use a Light Meter: This tool helps measure the light in your scene and ensures your exposure is on point.
Proper exposure is crucial in making your portrait look vibrant and full of detail.
7. Use Reflectors for a Balanced Look
A reflector can help you fill in shadows and balance the lighting. It bounces light back onto your subject, brightening dark areas and creating a more even look.
- White Reflectors: These create soft light and are great for portraits that need a subtle fill.
- Silver or Gold Reflectors: These add warmth and intensity, perfect for portraits with a more dramatic or golden tone.
Reflectors are lightweight, easy to use, and a great tool for achieving a balanced lighting setup.
Capture the Best Light: Try These Portrait Photography Tips Now!
Mastering photography lighting tips is essential for creating stunning portraits. Whether you’re using natural light or artificial lighting, the key is to understand how light affects your subject and adjust it accordingly. Experiment with soft and hard light, play with angles, and use reflectors to enhance your results. With practice, you’ll be able to produce portraits that showcase your subject in the best possible light. Remember, lighting is not just about brightness—it’s about the mood and depth you create with your choices. So next time you’re ready to shoot, keep these photography lighting tips in mind to capture truly striking portraits.

