Want to capture stunning images with more than just pointing a camera and pressing a button? Understanding the core principles behind exposure can help you take better photographs in various lighting conditions. The exposure triangle—aperture, shutter speed, and ISO—is a fundamental concept that improves your photography skills. Let’s break down each element and learn how they work together to produce well-exposed photos.
What Is the Exposure Triangle?
The exposure triangle refers to three critical settings in photography:
- Aperture
- Shutter Speed
- ISO
These settings control the amount of light entering the camera and how the sensor captures it. Balancing them effectively will sharpen your photography skills by producing photos with the desired brightness, depth, and clarity.
Aperture: Controlling Depth of Field
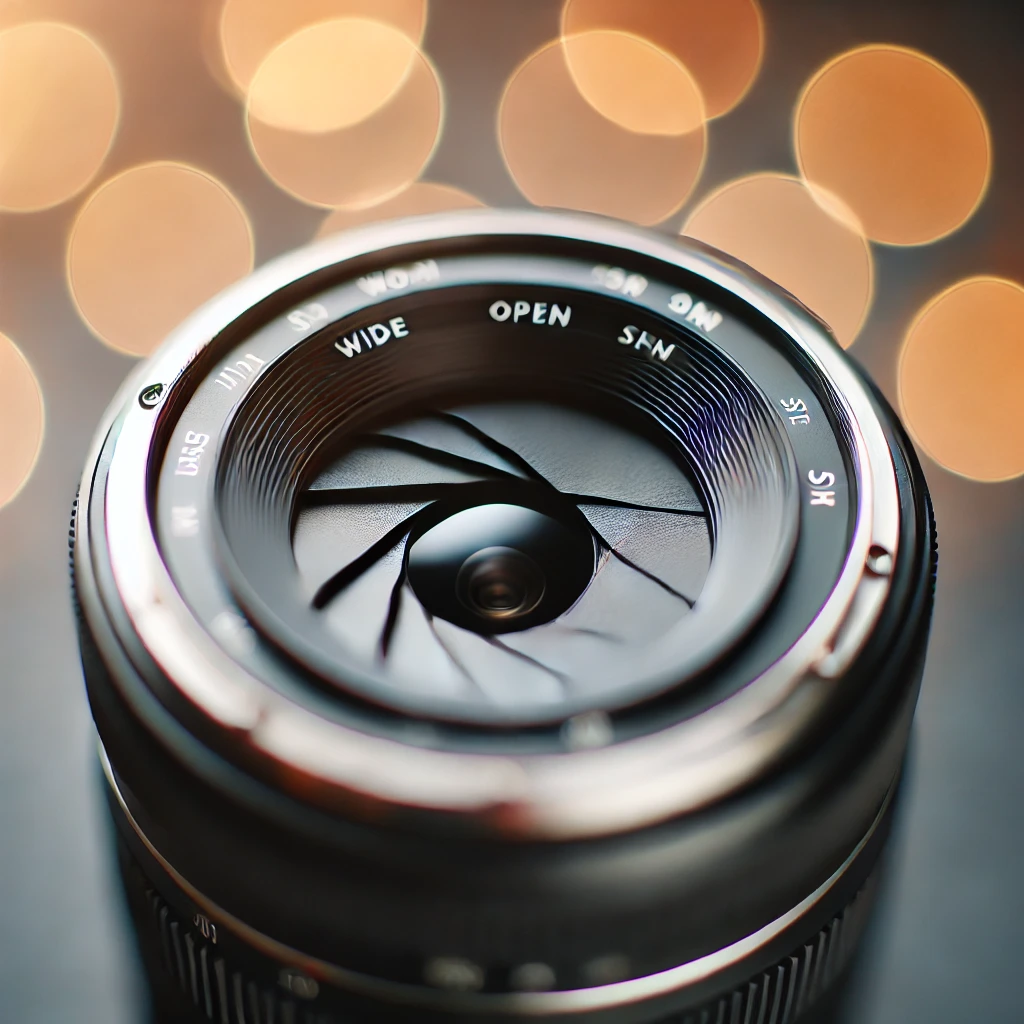
Aperture refers to the size of the lens opening that allows light to hit the camera’s sensor.
- Measured in f-stops (e.g., f/2.8, f/5.6, f/11).
- A lower f-stop (e.g., f/1.8) creates a wider opening, letting in more light.
- A higher f-stop (e.g., f/16) reduces the opening, letting in less light.
How Aperture Affects Your Photos:
- Depth of Field:
- A wide aperture (low f-stop) creates a shallow depth of field, making the background blur and focusing on the subject.
- A narrow aperture (high f-stop) results in a deeper depth of field, keeping both the foreground and background in focus.
- Light Control:
- Use a wide aperture in low-light settings.
- Opt for a narrow aperture in bright conditions.
Quick Tip: Experimenting with aperture settings can greatly boost your photography skills, especially for portraits or landscapes.
Shutter Speed: Freezing or Blurring Motion
Shutter speed is the duration the camera shutter remains open, measured in seconds or fractions of a second (e.g., 1/500, 1/60, 2 seconds).
How Shutter Speed Affects Your Photos:
- Motion Capture:
- A fast shutter speed (e.g., 1/1000) freezes action, ideal for sports or wildlife photography.
- A slow shutter speed (e.g., 1 second) creates motion blur, perfect for capturing light trails or flowing water.
- Light Entry:
- Longer shutter speeds let in more light but risk camera shake.
- Shorter shutter speeds reduce light entry but ensure sharper images.
Pro Tip: Use a tripod for slow shutter speeds to avoid blur caused by hand movements. Practicing this can sharpen your photography skills.

ISO: Sensitivity to Light
ISO controls the camera sensor’s sensitivity to light.
- Lower ISO values (e.g., 100) make the sensor less sensitive to light, resulting in finer detail.
- Higher ISO values (e.g., 3200) make the sensor more sensitive, useful in darker settings but may introduce noise.
How ISO Affects Your Photos:
- Image Quality:
- Low ISO delivers cleaner, sharper images.
- High ISO introduces grain or noise.
- Lighting Conditions:
- Use low ISO in bright environments.
- Opt for high ISO in low-light settings when increasing aperture or reducing shutter speed is insufficient.
Note: Mastering ISO adjustments will elevate your photography skills, particularly in challenging lighting situations.
Balancing the Exposure Triangle
To achieve the perfect exposure:
- Evaluate the Scene:
- Analyze lighting conditions.
- Determine whether motion, depth of field, or image quality is your priority.
- Adjust Settings:
- Start with aperture for desired depth of field.
- Set shutter speed based on motion requirements.
- Fine-tune ISO to balance brightness.
- Test and Adapt:
- Take test shots and review them.
- Adjust settings incrementally for better results.
Balancing these three elements will significantly improve your photography skills.
Practical Scenarios for Using the Exposure Triangle
Portrait Photography:
- Settings: Wide aperture (f/2.8), low ISO (100), moderate shutter speed (1/125).
- Result: Blurred background with sharp focus on the subject.
Landscape Photography:
- Settings: Narrow aperture (f/11), low ISO (100), slower shutter speed (1/60).
- Result: Entire scene in sharp focus with minimal noise.
Night Photography:
- Settings: Wide aperture (f/2.8), high ISO (1600), slow shutter speed (5 seconds).
- Result: Bright image capturing night details but watch for noise.
Common Mistakes and How to Avoid Them
- Ignoring ISO:
- High ISO can ruin image quality. Use it as a last resort.
- Incorrect Aperture:
- Using a narrow aperture in low light may darken your image. Pair it with a slower shutter speed.
- Overlooking Shutter Speed:
- Too slow can lead to blurry photos without stabilization. Use a tripod for long exposures.
Avoiding these mistakes will refine your photography skills and deliver consistent results.

Tools to Practice the Exposure Triangle
- Manual Mode: Switch to manual mode on your camera to take full control.
- Light Meter: Use a light meter to measure light exposure accurately.
- Practice Daily: Experiment with different settings and scenarios.
Developing these habits will enhance your photography skills and help you master the exposure triangle.
Why Understanding the Exposure Triangle Matters
Mastering aperture, shutter speed, and ISO unlocks creative freedom. You’ll:
- Capture stunning photos in various conditions.
- Take control of your artistic vision.
- Improve image quality and composition.
Building these photography skills will transform how you approach every shot. Keep experimenting, learning, and growing as a photographer.

